How to Make Heated Motorcycle Clothing?
Motorcycling in cold weather can be a thrill, but it can be downright miserable without proper gear. Heated motorcycle gear is a great way to stay warm and cozy, even on the chilliest of days. Sure, you can always purchase pre-made heated gear, but creating your own can be less expensive and tailored to your requirements. Below is a step-by-step guide on how to create your heated motorcycle gear.
Materials You Will Need
First, collect what you need before you start:
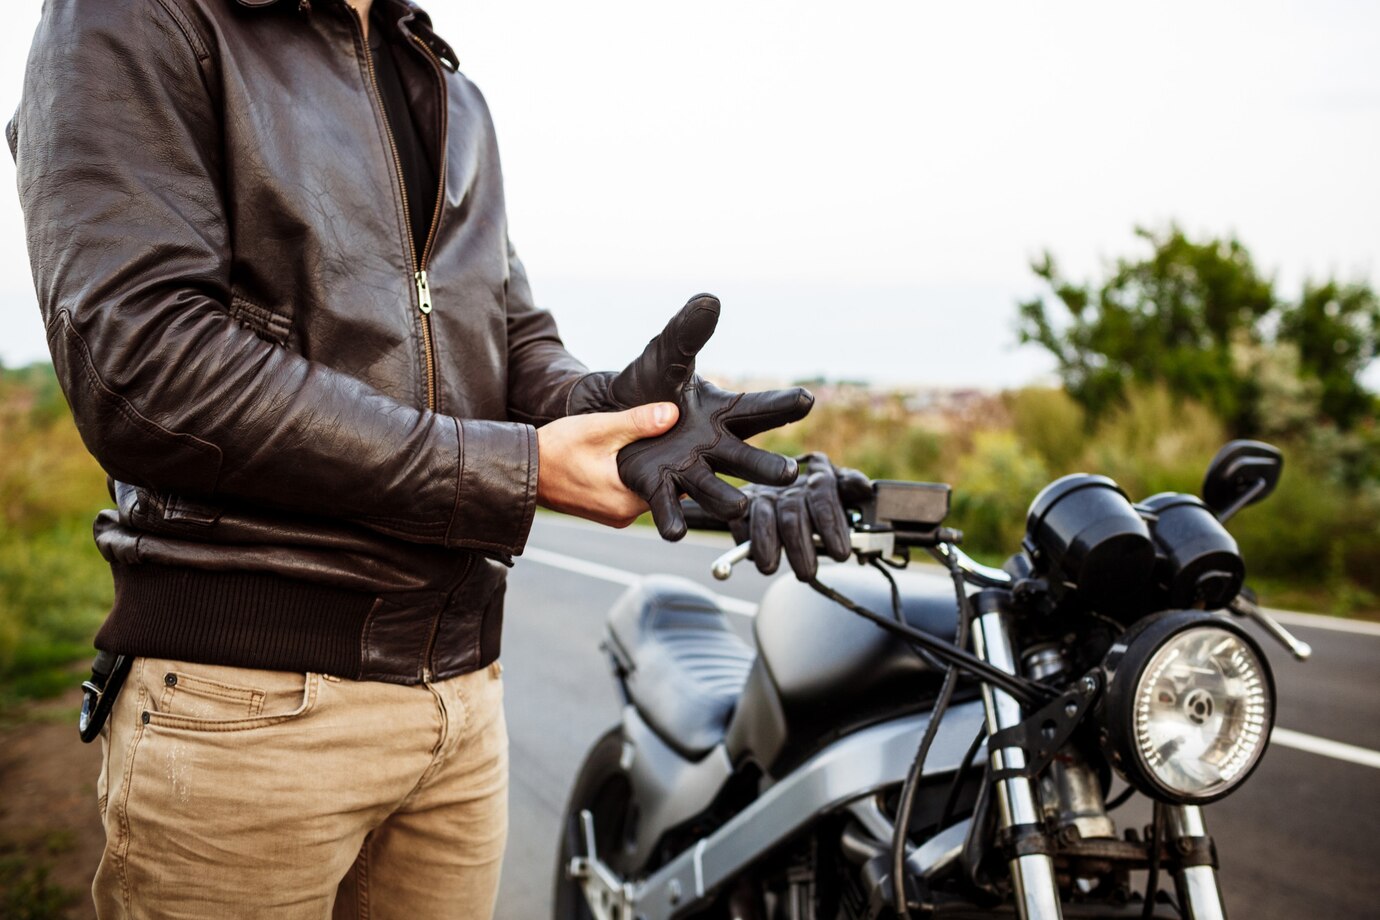
Base clothing: Jackets, vests, pants, or gloves that are made from a flexible and hard-wearing material.
Heated wiring: Employ high-resistance, flexible heating wire like nichrome wire or carbon fiber heating pads.
Temperature controller: To control the heat levels for safety and comfort.
Battery pack: A 12V rechargeable lithium-ion battery is usual.
Connectors and switches: For wiring and convenient control.
Insulation material: To maintain the heat pointed towards your body.
Essential tools: Soldering iron, heat shrink tubing, wire cutters, and sewing kit.
Now, let's go through the process of making your heated gear.
Step 1: Design Your Heating Layout
Begin by deciding where you'll need the heat the most. Usually, the chest, back, and thighs are important areas. Draw out a simple pattern of your clothing and decide how you'll want the heating elements located. Be certain the wiring won't limit movement or feel awkward when you're on the bike.
Step 2: Install the Heating Elements
Place the heating wire or pads inside your base clothing according to your design. Attach them with stitches or fabric adhesive, but don't make the wire rigid. Don't place wires over sections that bend excessively, like elbows or knees.
If you are using nichrome wire, keep in mind it gets very hot. Space it accordingly to avoid burns or overheating. For starters, flexible carbon fiber pads may be simpler and safer to handle.
Step 3: Wiring and Connections
Join the heating elements in pairs using insulated cables. Solder the joints to achieve a tight, secure hold, and shield them with heat shrink tubing to prevent short circuits. Next, wire the heating circuit to the battery pack using a temperature controller and an on/off switch.
Crucial hint: Fit a fuse between your circuit and battery to defend against electrical overloads.
Step 4: Power Source Setup
You have two primary options for powering your warm clothing:
Battery-powered: Convenient and simple to install but can require regular recharging.
Motorcycle-powered: You can access your motorcycle's battery, but you'll need to carefully install it to not drain your motorcycle's battery.
If you're accessing your motorcycle's battery, add a quick-disconnect plug to make donning and doffing your gear convenient.
Step 5: Test Thoroughly
Test your heated clothing very thoroughly before driving:
- Test for even heating.
- Check that all connections are solid and insulated.
- Check that the temperature controller operates correctly.
- Try wearing the clothing to determine whether there are hot spots or uncomfortable areas.
- Take your time during testing, safety is important.
Step 6: Final Assembly
After being content with the functionality, complete the sewing or folding the wiring smoothly inside the garment layers. Apply additional padding where needed to ensure the heating wires do not rub directly against your skin.
Ensure that all materials are still comfortable and flexible enough to wear, particularly when seated in your riding position.
Success Tips
Use water-resistant material: In event of rain or snow.
Have wiring in order: Neat wiring minimizes the risk of shorts or breaking.
Label connections: Easier to troubleshoot or upgrade later.
Final Thoughts
Heating your own motorcycle gear is a great DIY project, providing warmth exactly to your specifications. With planning, quality components, and a focus on safety, you can create equipment that competes with the commercial stuff — for a fraction of the price. Always consider your safety, and ride on regardless of the season!
Leave a comment
This site is protected by hCaptcha and the hCaptcha Privacy Policy and Terms of Service apply.

User Name 2 Days ago
Lorem ipsum dolor sit amet, consectetuer adipiscing elit. Aenean commodo ligula eget dolor.